Used 2009 Nissan 370Z for Sale Near Me
Describe what you’re looking for
BETA

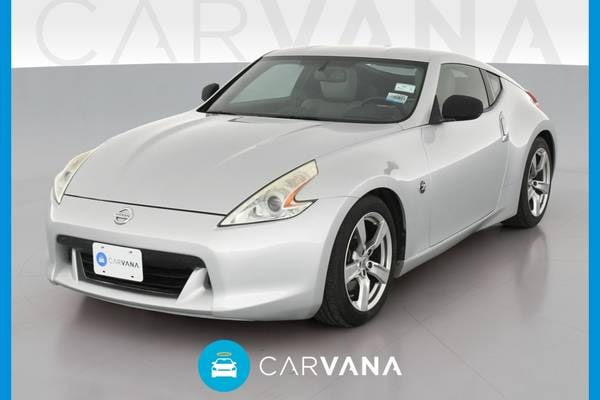
Located in Jacksonville, FL / 686 miles away from Columbus, OH
[U01] Hdd Based Navigation System Leather Seats Navigation System [B95] Painted Splash Guards (4-Piece) [L92] Carpeted Floor Mats [T94] Carpeted Trunk...
Accident Free Vehicle: Yes
Personal Use Only: Yes
History Provider: AutoCheck
Title Details: Clean Title
Salvage Vehicle: No
Frame Damage: No
Theft History: No
Lemon Status: No
Free History Report: No
Features and Specs:
21 Combined MPG (18 City/26 Highway)
Listing Information:
VIN: JN1AZ44E49M410879
Stock: 9M410879
Certified Pre-Owned: No
Listed since: 04-29-2024
Located in Thousand Oaks, CA / 2,013 miles away from Columbus, OH
We're located at:1282 Newbury Rd, Newbury Park CA 91320,off the 101 Freeway Exit VentuGreat deal on this one!!Car shopping? We are the number one auto...
Accident Free Vehicle: No
Personal Use Only: No
History Provider: AutoCheck
Title Details: Clean Title
Salvage Vehicle: No
Frame Damage: No
Theft History: No
Lemon Status: No
Free History Report: No
Features and Specs:
21 Combined MPG (18 City/26 Highway)
Listing Information:
VIN: JN1AZ44E89M407399
Stock: 659
Certified Pre-Owned: No

Located in Richmond, VA / 327 miles away from Columbus, OH
At Carvana, we go miles beyond the extra mile. That's why we provide you with a convenient, fast, and hassle-free car buying experience that puts you ...
Accident Free Vehicle: Yes
Personal Use Only: Yes
History Provider: AutoCheck
Title Details: Clean Title
Salvage Vehicle: No
Frame Damage: No
Theft History: No
Lemon Status: No
Free History Report: No
Features and Specs:
21 Combined MPG (18 City/26 Highway)
Listing Information:
VIN: JN1AZ44E49M400255
Stock: 2002781358
Certified Pre-Owned: No
Listed since: 03-14-2024

Located in Austin, TX / 1,064 miles away from Columbus, OH
[S01] Sport Pkg Leather Seats [B95] Painted Splash Guards (4-Piece) [P93] Illuminated Kick Plate [L92] Carpeted Floor Mats Keyless Start Rear Spoiler ...
Accident Free Vehicle: No
Personal Use Only: Yes
History Provider: AutoCheck
Title Details: Clean Title
Salvage Vehicle: No
Frame Damage: No
Theft History: No
Lemon Status: No
Free History Report: No
Features and Specs:
21 Combined MPG (18 City/26 Highway)
Listing Information:
VIN: JN1AZ44E99M400560
Stock: 9M400560
Certified Pre-Owned: No
Listed since: 05-02-2024

Located in Atlanta, GA / 441 miles away from Columbus, OH
At Carvana, we go miles beyond the extra mile. That's why we provide you with a convenient, fast, and hassle-free car buying experience that puts you ...
Accident Free Vehicle: No
Personal Use Only: Yes
History Provider: AutoCheck
Title Details: Clean Title
Salvage Vehicle: No
Frame Damage: No
Theft History: No
Lemon Status: No
Free History Report: No
Features and Specs:
21 Combined MPG (18 City/26 Highway)
Listing Information:
VIN: JN1AZ44E19M409074
Stock: 2002850136
Certified Pre-Owned: No
Listed since: 04-19-2024

Located in Trevor, WI / 322 miles away from Columbus, OH
2009 Nissan 370Z Nismo. 23,300 original miles. Clean title. One of only 155 black Nismo 370Zs built in 2009. First year of the 370Z. Only 515 total Ni...
Accident Free Vehicle: Yes
Personal Use Only: Yes
History Provider: AutoCheck
Title Details: Clean Title
Salvage Vehicle: No
Frame Damage: No
Theft History: No
Lemon Status: No
Free History Report: No
Features and Specs:
21 Combined MPG (18 City/26 Highway)
Listing Information:
VIN: JN1AZ44E29M409570
Stock: 409570
Certified Pre-Owned: No
Located in Indianapolis, IN / 177 miles away from Columbus, OH
At Carvana, we go miles beyond the extra mile. That's why we provide you with a convenient, fast, and hassle-free car buying experience that puts you ...
Accident Free Vehicle: Yes
Personal Use Only: Yes
History Provider: AutoCheck
Title Details: Clean Title
Salvage Vehicle: No
Frame Damage: No
Theft History: No
Lemon Status: No
Free History Report: No
Features and Specs:
21 Combined MPG (18 City/26 Highway)
Listing Information:
VIN: JN1AZ44E59M400152
Stock: 2002874234
Certified Pre-Owned: No
Listed since: 04-19-2024

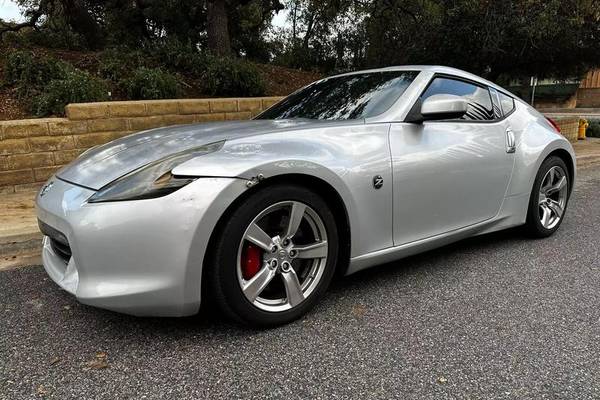
Located in Powell, OH / 14 miles away from Columbus, OH
***CLEAN CARFAX - ONE OWNER - MONTEREY BLUE - COUPE*** 2009 Nissan 370Z Coupe Touring finished in Monterey Blue over Black Leather Interior. This vehi...
Accident Free Vehicle: Yes
Personal Use Only: Yes
History Provider: AutoCheck
Title Details: Clean Title
Salvage Vehicle: No
Frame Damage: No
Theft History: No
Lemon Status: No
Free History Report: No
Features and Specs:
21 Combined MPG (18 City/26 Highway)
Listing Information:
VIN: JN1AZ44E39M401249
Stock: 13741
Certified Pre-Owned: No
Listed since: 04-10-2024

Located in San Antonio, TX / 1,147 miles away from Columbus, OH
Accident Free Vehicle: Yes
Personal Use Only: No
History Provider: AutoCheck
Title Details: Clean Title
Salvage Vehicle: No
Frame Damage: No
Theft History: No
Lemon Status: No
Free History Report: No
Features and Specs:
21 Combined MPG (18 City/26 Highway)
Listing Information:
VIN: JN1AZ44E69M401617
Stock: LCC14840
Certified Pre-Owned: No

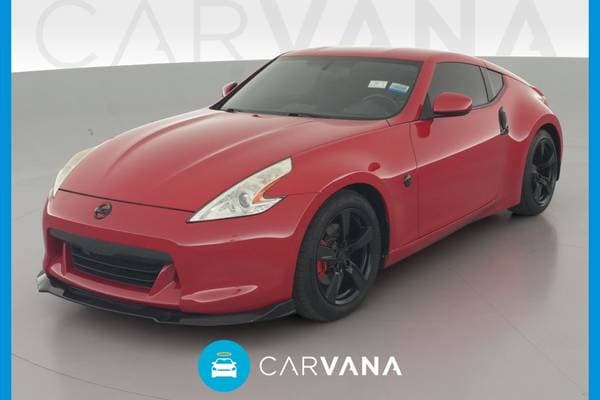
Located in Richmond, IN / 105 miles away from Columbus, OH
19" Rays Super Lightweight Forged Alloy Wheels, Nissan Sport Brakes, Sport Package, Viscous Limited-Slip Differential. Clean CARFAX. Why buy a Wetzel...
Accident Free Vehicle: Yes
Personal Use Only: Yes
History Provider: AutoCheck
Title Details: Clean Title
Salvage Vehicle: No
Frame Damage: No
Theft History: No
Lemon Status: No
Free History Report: No
Features and Specs:
21 Combined MPG (18 City/25 Highway)
Listing Information:
VIN: JN1AZ4FH5AM304548
Stock: C98125
Certified Pre-Owned: No
Listed since: 04-22-2024

Located in Sacramento, CA / 2,046 miles away from Columbus, OH
Lexus of Sacramento is pleased to present for sale this stunning 2010 Nissan 370Z Touring as part of our hand-selected pre-owned lineup. This gorgeous...
Accident Free Vehicle: Yes
Personal Use Only: Yes
History Provider: AutoCheck
Title Details: Clean Title
Salvage Vehicle: No
Frame Damage: No
Theft History: No
Lemon Status: No
Free History Report: No
Features and Specs:
21 Combined MPG (18 City/25 Highway)
Listing Information:
VIN: JN1AZ4FH5AM304145
Stock: AM304145TJ
Certified Pre-Owned: No
Listed since: 04-01-2024

Located in Tampa, FL / 836 miles away from Columbus, OH
At Carvana, we go miles beyond the extra mile. That's why we provide you with a convenient, fast, and hassle-free car buying experience that puts you ...
Accident Free Vehicle: Yes
Personal Use Only: Yes
History Provider: AutoCheck
Title Details: Clean Title
Salvage Vehicle: No
Frame Damage: No
Theft History: No
Lemon Status: No
Free History Report: No
Features and Specs:
21 Combined MPG (18 City/26 Highway)
Listing Information:
VIN: JN1AZ4EH2AM502506
Stock: 2002861492
Certified Pre-Owned: No
Listed since: 04-15-2024

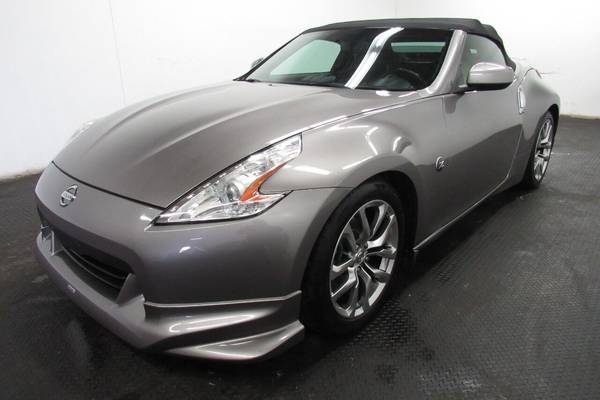
Located in Burbank, CA / 1,983 miles away from Columbus, OH
* Local private party trade in on a newer BMW * 6 speed manual transmission * Leather upholstery * Touring pkg * Cat-back exhaust system * B...
Accident Free Vehicle: Yes
Personal Use Only: No
History Provider: AutoCheck
Title Details: Clean Title
Salvage Vehicle: No
Frame Damage: No
Theft History: No
Lemon Status: No
Free History Report: No
Features and Specs:
21 Combined MPG (18 City/26 Highway)
Listing Information:
VIN: JN1AZ4EH2AM503574
Stock: 503574
Certified Pre-Owned: No
Located in Fairfield, OH / 102 miles away from Columbus, OH
Please visit WWW.AUTOCONNECTIONOH.COM for more information, photos, and FREE Car Fax or Call Us Today at 513-858-6555. We sell our inventory near whol...
Accident Free Vehicle: Yes
Personal Use Only: No
History Provider: AutoCheck
Title Details: Clean Title
Salvage Vehicle: No
Frame Damage: No
Theft History: No
Lemon Status: No
Free History Report: No
Features and Specs:
21 Combined MPG (18 City/25 Highway)
Listing Information:
VIN: JN1AZ4FHXAM304125
Stock: D240117
Certified Pre-Owned: No
Listed since: 01-04-2024
Located in Heath, OH / 21 miles away from Columbus, OH
Are you in the market for a sporty vehicle? Well give this Nissan 370Z a look! The CARFAX is clean, with no accidents or damages reported! This vehicl...
Accident Free Vehicle: Yes
Personal Use Only: Yes
History Provider: AutoCheck
Title Details: Clean Title
Salvage Vehicle: No
Frame Damage: No
Theft History: No
Lemon Status: No
Free History Report: No
Features and Specs:
22 Combined MPG (19 City/26 Highway)
Listing Information:
VIN: JN1AZ4EH0AM506683
Stock: 15161
Certified Pre-Owned: No
Listed since: 04-03-2024

Located in Atlanta, GA / 441 miles away from Columbus, OH
At Carvana, we go miles beyond the extra mile. That's why we provide you with a convenient, fast, and hassle-free car buying experience that puts you ...
Accident Free Vehicle: Yes
Personal Use Only: Yes
History Provider: AutoCheck
Title Details: Clean Title
Salvage Vehicle: No
Frame Damage: No
Theft History: No
Lemon Status: No
Free History Report: No
Features and Specs:
20 Combined MPG (18 City/25 Highway)
Listing Information:
VIN: JN1AZ4FH8AM304155
Stock: 2002875915
Certified Pre-Owned: No
Listed since: 04-19-2024

Located in Chantilly, VA / 295 miles away from Columbus, OH
We at Precise Automotive Group will now provide customers with FREE and FAST shipping on all vehicles to your front door within 300 miles, if your fur...
Accident Free Vehicle: Yes
Personal Use Only: Yes
History Provider: AutoCheck
Title Details: Clean Title
Salvage Vehicle: No
Frame Damage: No
Theft History: No
Lemon Status: No
Free History Report: No
Features and Specs:
21 Combined MPG (18 City/25 Highway)
Listing Information:
VIN: JN1AZ4FHXAM302293
Stock: P2293
Certified Pre-Owned: No
Listed since: 04-08-2024

Located in Phoenix, AZ / 1,668 miles away from Columbus, OH
At Carvana, we go miles beyond the extra mile. That's why we provide you with a convenient, fast, and hassle-free car buying experience that puts you ...
Accident Free Vehicle: Yes
Personal Use Only: Yes
History Provider: AutoCheck
Title Details: Clean Title
Salvage Vehicle: No
Frame Damage: No
Theft History: No
Lemon Status: No
Free History Report: No
Features and Specs:
21 Combined MPG (18 City/25 Highway)
Listing Information:
VIN: JN1AZ4FH8AM301174
Stock: 2002736616
Certified Pre-Owned: No
Listed since: 02-26-2024

Located in Birmingham, AL / 501 miles away from Columbus, OH
At Carvana, we go miles beyond the extra mile. That's why we provide you with a convenient, fast, and hassle-free car buying experience that puts you ...
Accident Free Vehicle: Yes
Personal Use Only: Yes
History Provider: AutoCheck
Title Details: Clean Title
Salvage Vehicle: No
Frame Damage: No
Theft History: No
Lemon Status: No
Free History Report: No
Features and Specs:
21 Combined MPG (18 City/25 Highway)
Listing Information:
VIN: JN1AZ4FH8AM304561
Stock: 2002895563
Certified Pre-Owned: No
Listed since: 05-08-2024

Located in Tampa, FL / 836 miles away from Columbus, OH
At Carvana, we go miles beyond the extra mile. That's why we provide you with a convenient, fast, and hassle-free car buying experience that puts you ...
Accident Free Vehicle: Yes
Personal Use Only: Yes
History Provider: AutoCheck
Title Details: Clean Title
Salvage Vehicle: No
Frame Damage: No
Theft History: No
Lemon Status: No
Free History Report: No
Features and Specs:
21 Combined MPG (18 City/25 Highway)
Listing Information:
VIN: JN1AZ4FH5AM301391
Stock: 2002870980
Certified Pre-Owned: No
Listed since: 05-04-2024

Located in Manassas, VA / 302 miles away from Columbus, OH
COMES WITH A 3 MONTHS 4,500 MILES POWERTRAIN WARRANTY INCLUDED AT LISTED PRICE----VIRGINIA STATE INSPECTION DONE, READY TO GO!!!! WE FINANCE AND GUARA...
Accident Free Vehicle: No
Personal Use Only: Yes
History Provider: AutoCheck
Title Details: Clean Title
Salvage Vehicle: No
Frame Damage: No
Theft History: No
Lemon Status: No
Free History Report: No
Features and Specs:
21 Combined MPG (18 City/25 Highway)
Listing Information:
VIN: JN1AZ4FH6AM304171
Stock: HK6351
Certified Pre-Owned: No
* Delivery of any kind does not apply to Alaska and Hawaii. Contact the dealer for delivery details, restrictions and costs.